


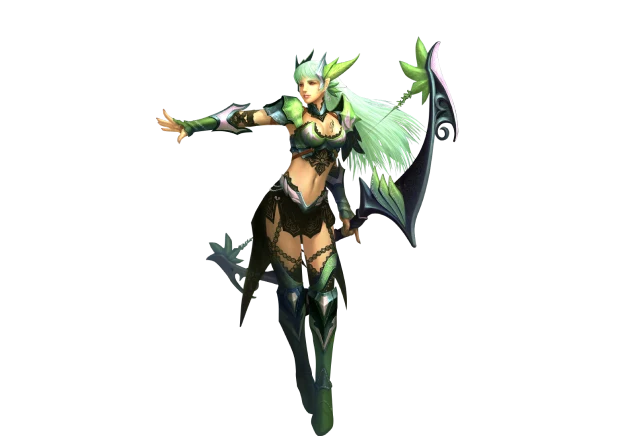
 EHOT
17 resets
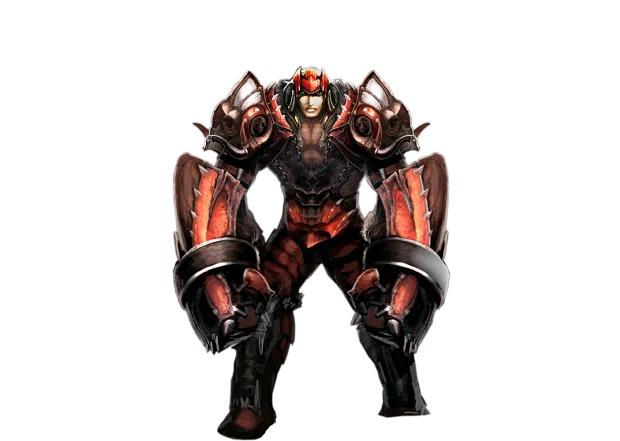 idfc
17 resets
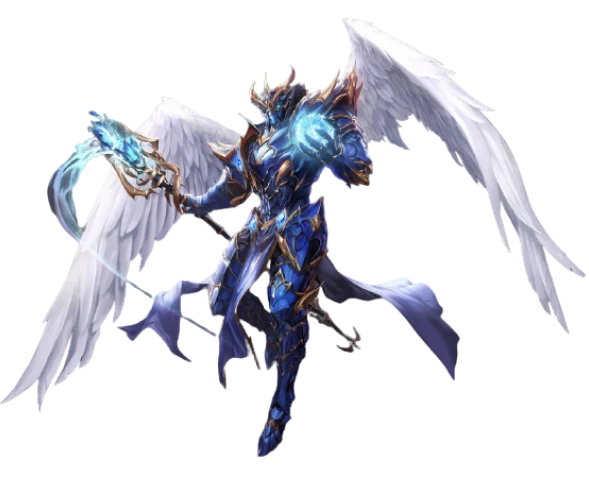 Besir
15 resets


Jewel of Harmony
Almost every piece of gear in this world has room for one more property, and the Jewel of Harmony is what fills it. The jewel puts one extra option on an item: raw damage on a weapon, wizardry on a staff, defence or health on armour. The option is drawn at random, it starts weak, and it is raised with refining stones afterwards.
Getting the jewel
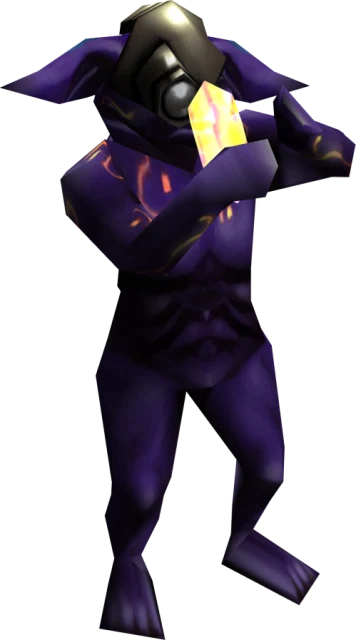
Ordinary monsters do not drop the jewel - they drop Gemstones, and only in Kanturu and Kanturu Remain. The one exception walks Kanturu Remain itself: the Maya Colossus, its elite, leaves a Jewel of Harmony or a Gemstone on every kill. From there the road leads to the Chaos Goblin, who refines them: put 1 to 50 Gemstones into one mix, and each one becomes a Jewel of Harmony at a 40% chance or is lost. No zen is needed, and Talismans of Luck are not accepted.
Ready Jewels of Harmony also come from jewel boxes, the Pink Chocolate Box, the Magic Treasure in Kanturu, the daily reward and random quests.


Putting it on an item
Drag the jewel onto the item and trust your luck. It works at a 30% chance - and a failed attempt destroys the jewel and leaves the item alone.
What the item takes depends on what it is:
- Weapons - swords, axes, maces, spears and bows - draw from the weapon list. Arrows and bolts are not weapons here.
- Staffs have their own list, built around wizardry rather than physical damage.
- Armour, shields, helmets, pants, gloves and boots share the armour list.
Two kinds of item are refused outright: ancient items - the server does not allow a harmony option on them - and anything that already has a harmony option on it. To put a different option on an item, the old one has to come off first.
Which option you get
The dice here are loaded. The option is drawn at random, but not evenly: every option carries a weight, and the heavier ones come up more often. The draw only holds options the item's level has reached, which is why the same option is likelier on a low item than on a high one - on a +0 weapon four cheap options split the whole draw, on a +0 staff three do, and +0 armour always gets defence increase: the other armour options open from +3 up.
Two options are skipped when they would do nothing: a weapon with no strength requirement never rolls "required strength decrease", and the same for agility.
The tables below give both numbers - the chance on a bare item and the chance once the item is +13 and every option is in the draw.
Raising the option
An option lands at its own starting level and climbs from there. Refining stones raise it one level at a time:
- Lower refining stone: 40%
- Higher refining stone: 70%

A failed attempt does not cost you a level - it drops the option back to where it started. That is the real cost of the ladder, and it is why the last levels are expensive in stones rather than in zen.
The option can never go past level 13, and it can never go past the item's own level: a +9 item holds a level 9 option and no more.
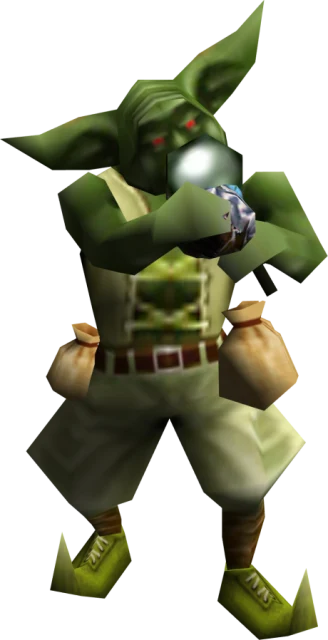
Refining stones are made by Osbourne in Aida, who grinds an item down into one: 20% for an ordinary item, 50% for an excellent one. An ordinary item yields a Lower stone, an excellent one a Higher stone. Exactly one item goes in - not ancient and without a harmony option; the cheapest starter weapons and armour must be at least +4, anything better is taken at any level. No zen is needed.

The Chaos Goblin also makes a Higher refining stone out of 2 Jewels of Harmony, 2 Lower refining stones and 1 Jewel of Chaos for 10,000,000 zen - that mix always succeeds.
Taking it off
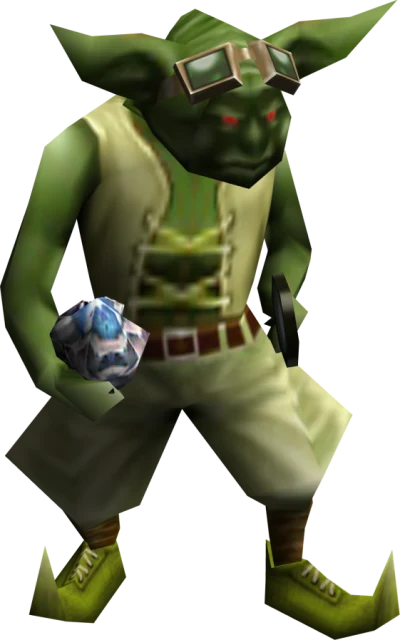
An option that did not work out comes off at Jerridon in Aida, who removes it for zen, and it always succeeds. The price is set by the level the option had reached, not by what the option is - the ladder is at the bottom of this page, and Castle Siege tax is added to it.
Weapon options
| Option | Needs | Chance +0 → +13 | 0 | 1 | 2 | 3 | 4 | 5 | 6 | 7 | 8 | 9 | 10 | 11 | 12 | 13 |
|---|---|---|---|---|---|---|---|---|---|---|---|---|---|---|---|---|
| Min. attack increase | — | 27.8% → 16.1% | 3 | 5 | 7 | 9 | 11 | 13 | 15 | 20 | 25 | 30 | 35 | 40 | 45 | 50 |
| Max. attack increase | — | 27.8% → 16.1% | 5 | 10 | 15 | 20 | 25 | 30 | 35 | 40 | 45 | 50 | 60 | 70 | 80 | 105 |
| Required strength decrease | — | 22.2% → 12.9% | 5 | 10 | 20 | 30 | 40 | 50 | 60 | 70 | 80 | 90 | 100 | 110 | 120 | 135 |
| Required agility decrease | — | 22.2% → 12.9% | 5 | 10 | 20 | 30 | 40 | 50 | 60 | 70 | 80 | 90 | 100 | 110 | 120 | 135 |
| Attack increase(Min,Max) | +6 | — → 9.7% | — | — | — | — | — | — | 10 | 20 | 30 | 40 | 50 | 60 | 70 | 85 |
| Critical damage increase | +6 | — → 9.7% | — | — | — | — | — | — | 20 | 30 | 40 | 50 | 100 | 110 | 120 | 135 |
| Skill attack increase | +9 | — → 6.5% | — | — | — | — | — | — | — | — | — | 45 | 55 | 65 | 75 | 100 |
| Attack sucess rate increase(PVP) | +9 | — → 6.5% | — | — | — | — | — | — | — | — | — | 50 | 100 | 150 | 200 | 250 |
| SD decrement increase | +9 | — → 6.5% | — | — | — | — | — | — | — | — | — | 3 | 5 | 8 | 15 | 20 |
| SD bypass rate increase | +13 | — → 3.2% | — | — | — | — | — | — | — | — | — | — | — | — | — | 10 |
Staff options
| Option | Needs | Chance +0 → +13 | 0 | 1 | 2 | 3 | 4 | 5 | 6 | 7 | 8 | 9 | 10 | 11 | 12 | 13 |
|---|---|---|---|---|---|---|---|---|---|---|---|---|---|---|---|---|
| Wizardry increase | — | 38.5% → 20.8% | 5 | 10 | 20 | 30 | 40 | 50 | 60 | 70 | 80 | 90 | 125 | 150 | 175 | 220 |
| Required strength decrease | — | 30.8% → 16.7% | 5 | 10 | 15 | 20 | 25 | 30 | 35 | 40 | 45 | 50 | 60 | 70 | 80 | 105 |
| Required agility decrease | — | 30.8% → 16.7% | 5 | 10 | 15 | 20 | 25 | 30 | 35 | 40 | 45 | 50 | 60 | 70 | 80 | 105 |
| Skill attack increase | +6 | — → 12.5% | — | — | — | — | — | — | 60 | 70 | 80 | 90 | 105 | 120 | 145 | 165 |
| Critical damage increase | +6 | — → 12.5% | — | — | — | — | — | — | 60 | 70 | 80 | 90 | 100 | 125 | 150 | 175 |
| SD decrement increase | +9 | — → 8.3% | — | — | — | — | — | — | — | — | — | 15 | 20 | 25 | 30 | 35 |
| Attack success rate increase(PVP) | +9 | — → 8.3% | — | — | — | — | — | — | — | — | — | 50 | 100 | 150 | 200 | 250 |
| SD bypass rate increase | +13 | — → 4.2% | — | — | — | — | — | — | — | — | — | — | — | — | — | 25 |
Armour options
| Option | Needs | Chance +0 → +13 | 0 | 1 | 2 | 3 | 4 | 5 | 6 | 7 | 8 | 9 | 10 | 11 | 12 | 13 |
|---|---|---|---|---|---|---|---|---|---|---|---|---|---|---|---|---|
| Defense increase | — | 100% → 21.7% | 5 | 10 | 20 | 30 | 40 | 50 | 60 | 70 | 80 | 90 | 100 | 110 | 120 | 150 |
| Max. Stamina increase | +3 | — → 17.4% | — | — | — | 5 | 25 | 50 | 75 | 100 | 125 | 150 | 175 | 200 | 225 | 250 |
| Max. HP increase | +3 | — → 17.4% | — | — | — | 5 | 25 | 50 | 75 | 100 | 125 | 150 | 175 | 200 | 225 | 250 |
| Life auto increment increase | +6 | — → 13% | — | — | — | — | — | — | 1 | 2 | 3 | 5 | 10 | 15 | 20 | 25 |
| Mana auto increment increase | +9 | — → 8.7% | — | — | — | — | — | — | — | — | — | 10 | 15 | 20 | 25 | 30 |
| Defense success rate increase(PVP) | +9 | — → 8.7% | — | — | — | — | — | — | — | — | — | 50 | 100 | 150 | 200 | 250 |
| Damage decrement increase | +9 | — → 8.7% | — | — | — | — | — | — | — | — | — | 4 | 5 | 6 | 7 | 8 |
| SD ratio increase | +13 | — → 4.3% | — | — | — | — | — | — | — | — | — | — | — | — | — | 10 |
What removing the option costs
| Option level | 0 | 1 | 2 | 3 | 4 | 5 | 6 | 7 | 8 | 9 | 10 | 11 | 12 | 13 |
|---|---|---|---|---|---|---|---|---|---|---|---|---|---|---|
| Zen | 100 000 | 110 000 | 120 000 | 130 000 | 140 000 | 150 000 | 200 000 | 220 000 | 240 000 | 280 000 | 320 000 | 360 000 | 400 000 | 500 000 |
Paid to the Chaos Machine when the option is taken off, by the level it had reached. Castle Siege tax is added on top.
Updated: 17.10.2026


 Helper Alice